TL;DR
- Fill grinding holes with topsoil and compact in layers
- Reseed grass or plant new features in treated areas
- Monitor for soil settling and root sprouts over time
- Use wood chips as mulch to enrich soil and suppress weeds
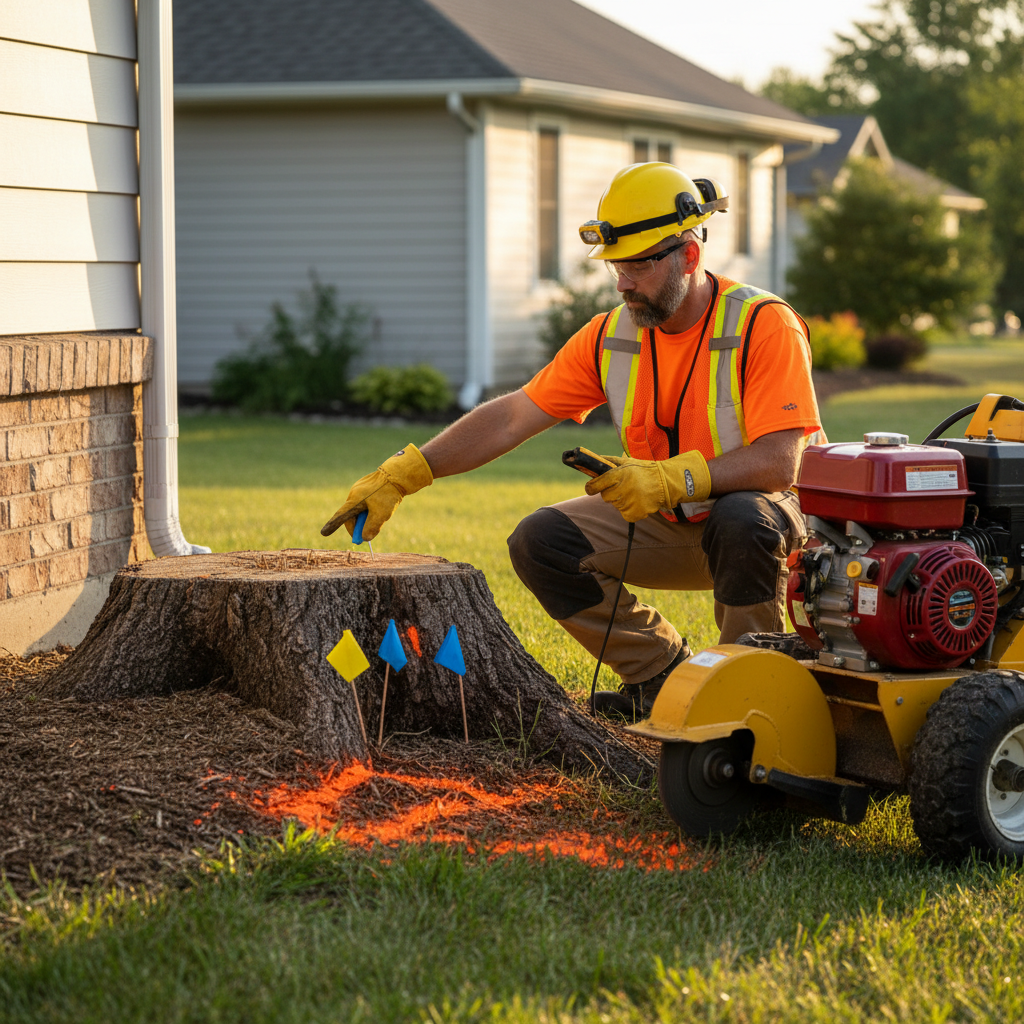
After stump grinding, your yard needs proper care to restore its health and appearance. The grinding process leaves holes and wood chips that require attention to prevent hazards and promote growth. As a tree care expert, I’ve guided many homeowners through post-grinding maintenance to ensure smooth, vibrant landscapes.
Proper aftercare transforms the grinding site from a rough patch to a beautiful yard feature. By filling holes correctly, managing wood chips, and monitoring progress, you can achieve professional results. Let’s explore step-by-step guidance for maintaining your yard after stump grinding.
Immediate Site Assessment
Inspect the area right after the service to identify needs.
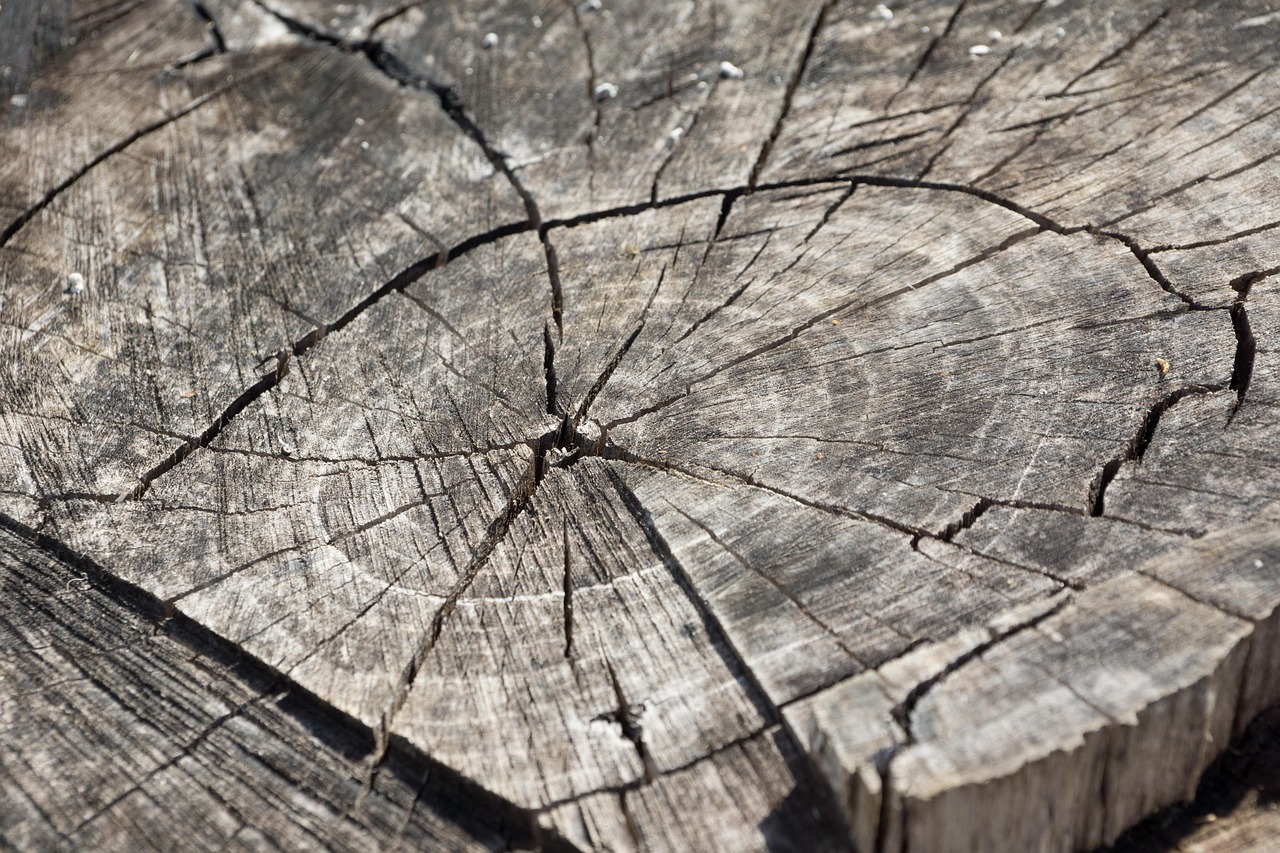
Hole Evaluation
Check the ground for depressions and stability.
- Depth Check: Ensure grinding is 6-12 inches below original grade
- Width Assessment: Verify smooth edges without sharp remnants
- Surface Level: Look for uneven spots that need filling
- Root Stubs: Confirm all major roots are ground flush
Chip Management
Handle the wood chips produced during grinding.
- Mulch Usage: Spread chips 2-3 inches thick around garden beds
- Removal Option: Bag and dispose if not using as mulch
- Storage: Keep dry chips for future use or composting
- Distribution: Avoid piling in one spot to prevent compaction
Hole Filling and Leveling
Proper backfill prevents settling and creates usable space.
Materials Needed
Select appropriate fill for stable ground.
- Topsoil: Screened loam for best drainage and plant growth
- Sand Mix: 50/50 sand-soil blend for heavy clay areas
- Gravel Base: For patios or high-traffic areas
- Tools: Shovel, rake, tamper for compacting
Step-by-Step Filling Process
Fill in layers for long-lasting results.
- Rough Fill: Add 4-6 inches of soil to reach ground level
- Compact Layers: Tamp down every 2 inches to prevent settling
- Level Surface: Rake smooth and check with straightedge
- Water Settling: Soak area to help soil compact naturally
- Final Topsoil: Add 1-2 inches of topsoil for seeding
Settling Timeline
Allow time for the ground to stabilize.
- First Week: Water daily to settle fill material
- 2-4 Weeks: Monitor for low spots and add more soil
- Monthly Checks: Fill any depressions that appear
- Full Stabilization: 2-3 months for complete settling
Grass Restoration and Seeding
Restore the lawn over the treated area.
Seed Selection
Choose grass types suitable for your region.
- Cool-Season Grasses: Kentucky bluegrass, fescue for northern yards
- Warm-Season Grasses: Bermuda, zoysia for southern climates
- Shade Mix: Fine fescue for areas under trees
- Quick Germination: Perennial ryegrass for fast coverage
Seeding Process
Prepare and plant for successful growth.
- Soil Preparation: Rake area smooth, add starter fertilizer
- Seed Spreading: Use spreader for even distribution (5-10 lbs per 1000 sq ft)
- Light Raking: Cover seeds with thin soil layer
- Watering Schedule: Keep moist with light watering 2x daily
- Germination Time: 7-21 days depending on grass type and weather
Sod Alternative
For immediate coverage in high-visibility areas.
- Sod Selection: Match existing lawn type for seamless blend
- Installation: Lay pieces tightly, stagger seams like bricks
- Watering: Heavy initial watering for root establishment
- Cost: $0.50-1.00 per sq ft for professional installation
Wood Chip Utilization
Turn grinding byproduct into yard assets.
Mulch Applications
Use chips to benefit garden areas.
- Garden Beds: 3-4 inch layer around plants suppresses weeds
- Tree Rings: 2-3 inch circle around tree bases retains moisture
- Pathways: Spread 4 inches thick for natural weed barrier
- Compost Pile: Age chips 6 months before adding to compost
Chip Management Tips
Maximize the value of natural mulch.
- Aging Process: Fresh chips decompose hot; age before planting
- Thickness Guidelines: 2-4 inches for effective weed control
- Replenishment: Add fresh chips annually as they break down
- Avoid Overuse: Don’t pile against tree trunks to prevent rot
Alternative Uses
Creative ways to repurpose wood chips.
- Playground Surfacing: Soft, natural ground cover for swingsets
- Erosion Control: Stabilize slopes and bare soil areas
- Composting: Mix with green waste for nutrient-rich compost
- Animal Bedding: Use in barns or as weed-free path material
Preventing Future Stump Issues
Take steps to minimize future grinding needs.
Tree Selection and Planting
Choose species that require less removal.
- Small-Mature Trees: Crabapple, dogwood for limited growth
- Non-Invasive Roots: Maples with less aggressive root systems
- Disease-Resistant: Select varieties less prone to hazards
- Spacing: Plant trees away from structures and utilities
Regular Maintenance
Proactive care reduces stump creation.
- Annual Pruning: Keep trees healthy and balanced
- Hazard Tree Assessment: Identify risks before they fall
- Root Barrier Installation: Prevent damage to sidewalks and foundations
- Professional Inspections: Early detection of problems
Site Planning
Design yard to avoid stump-prone areas.
- Utility Awareness: Plant away from underground lines
- Structure Clearance: Maintain distance from buildings
- Windbreak Planning: Position trees to reduce storm damage
- Species Diversity: Mix tree types to prevent widespread disease
Monitoring and Long-Term Care
Watch the site for issues after grinding.
Settling Issues
Address depressions as they appear.
- Weekly Checks: Fill low spots with additional topsoil
- Watering: Keep moist to aid compaction
- Compaction: Use lawn roller for even settling
- Reseeding: Overseed thin areas for full coverage
Root Sprout Management
Prevent regrowth from remaining roots.
- Herbicide Application: Glyphosate on fresh cuts to prevent suckers
- Manual Removal: Pull small shoots as they appear
- Mulch Barrier: Thick layer discourages surface sprouting
- Professional Follow-Up: Treat persistent root systems
Soil Health Monitoring
Ensure the ground recovers properly.
- pH Testing: Check soil acidity after grinding
- Nutrient Analysis: Test for deficiencies from wood decomposition
- Fertilizer Application: Balanced feed for new grass growth
- Aeration: Improve soil compaction from equipment
Seasonal Aftercare
Adjust maintenance based on time of year.
Spring/Summer
Active growth period requires consistent care.
- Frequent Watering: Keep newly seeded areas moist
- Fertilizing: Starter fertilizer for root establishment
- Weed Control: Monitor for weeds in bare areas
- Mowing Schedule: Raise blade height for new grass
Fall/Winter
Prepare for dormant season.
- Winter Mulching: Add extra layer over seeded areas
- Erosion Protection: Cover slopes with straw or chips
- Winter Watering: Deep water before ground freeze
- Debris Management: Clear leaves from grinding sites
Common Post-Grinding Mistakes
Avoid pitfalls that compromise results.
Improper Hole Filling
Poor backfill leads to settling problems.
- Insufficient Compaction: Creates uneven, sinking ground
- Wrong Materials: Clay in sandy areas causes drainage issues
- Overwatering: Can wash away fill material
- No Topsoil Layer: Prevents grass from establishing roots
Ignoring Root Sprouts
Untreated roots can create new hazards.
- Delayed Treatment: Small shoots become large problems
- Manual Pulling Only: Roots regrow from untreated areas
- Chemical Overuse: Harms surrounding plants if not targeted
Neglecting Soil Testing
Skip testing leads to poor growth.
- pH Imbalance: Wood chips acidify soil, affecting grass
- Nutrient Deficiency: Nitrogen tie-up during decomposition
- Compaction Issues: Equipment leaves hard-packed soil
Professional vs DIY Aftercare
Know when to seek expert help for restoration.
DIY Maintenance
Suitable for basic filling and seeding.
- Hole Filling: Simple topsoil and compaction
- Seeding: Basic grass seed application
- Mulch Spreading: Even distribution of wood chips
- Monitoring: Regular checks for settling
Professional Landscaping
For complex restoration projects.
- Soil Amendment: Professional soil testing and treatment
- Sod Installation: Instant lawn coverage for high-traffic areas
- Design Integration: Blend grinding sites into landscape plans
- Warranty Work: Address settling issues within guarantee period
Conclusion
Maintaining your yard after stump grinding ensures the investment pays off with a beautiful, functional landscape. As your tree care resource, I recommend proper hole filling, grass restoration, and ongoing monitoring for optimal results. With the right aftercare, your yard will recover quickly and provide years of enjoyment.
Contact local stump grinding services through our directory for professional removal and restoration advice. Your stump-free yard is the foundation for beautiful landscaping possibilities.